A first lunar session rarely fails because of the telescope. It fails because your hands shake, your fingers go numb after twenty minutes, and the one chart you grabbed is a star map that shows the Moon as a featureless white dot. Ten minutes of sorting things out before you step outside fixes almost all of it. What follows is the setup that experienced observers actually use on a casual night out: modest optics you can hold steady, a red light that does not blind you, clothing that keeps you outside longer than half an hour, and a short list of lunar features that are easy to find and rewarding to look at.
Choose Your Night and Your Optics First
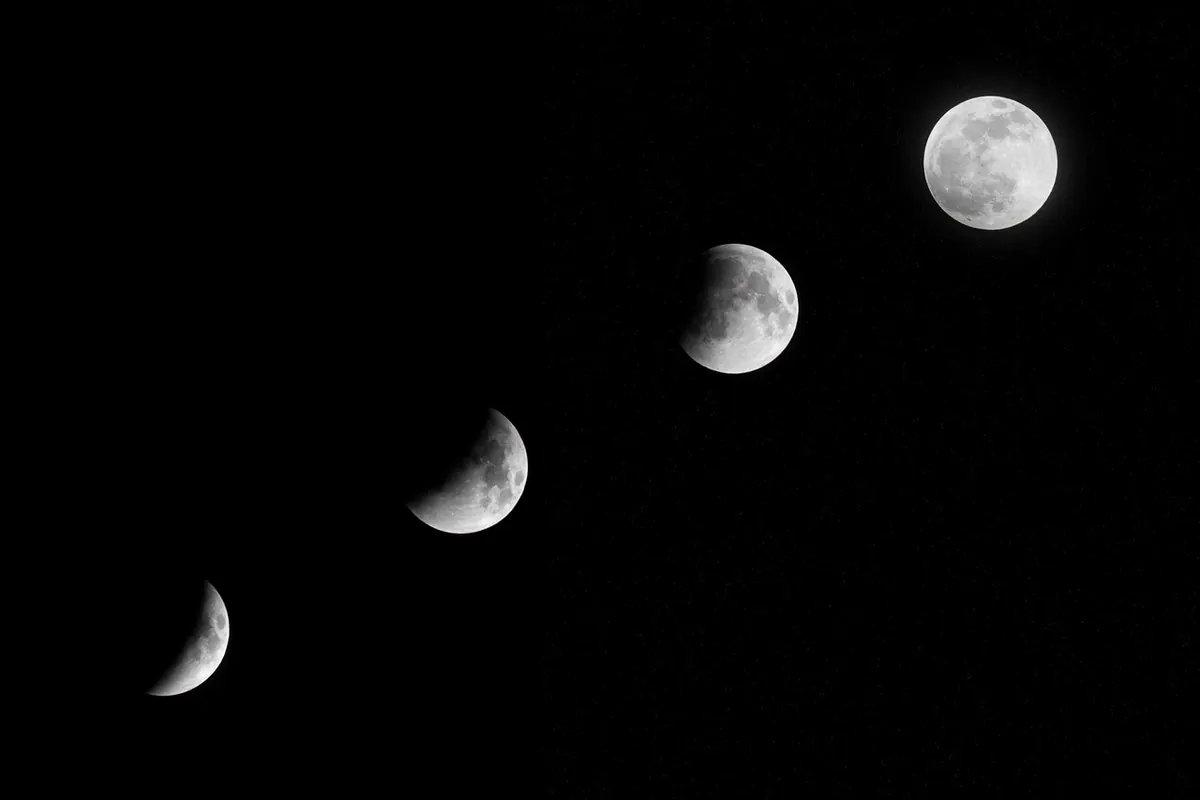
Skip the full Moon. It is spectacular to the naked eye and disappointing through glass, because the Sun is directly behind you and every crater throws almost no shadow. What you want is a terminator — the sunrise or sunset line that creeps across the lunar surface — with its long, black shadows carving out crater rims and mountain peaks. Anywhere from two days after new Moon through a couple of days past first quarter is the best introduction; the same is true of the waning phases in the last week before new Moon.
Binoculars are enough to start, and frankly they are better than a shaky small telescope. A 7x50 or 10x50 pair is the classic choice: light enough to hold, bright enough to show you the big maria, the bright rays around Tycho, and the jagged edge of the terminator. Anything above about 12x will need support. If your binoculars have a tripod socket, use it, or brace your elbows on a wall, a car roof, or a fence post. Sitting down in a garden chair is the cheapest image stabilisation ever invented.
If you already own a telescope, use your lowest-power eyepiece first. Set the scope outside half an hour before you plan to observe so it can match the outdoor temperature; a warm tube gives mushy, wobbling views until it settles. And resist the urge to push the magnification straight away — a crisp 50x beats a boiling 200x every time.
Red Light, Dark Adaptation, and Other Small Rituals
Red light does not ruin your night vision the way white light does. Any small headlamp with a red mode is worth owning, and set it dim. Keep it pointed at your chart or your feet, never at anyone's eyes, and never at the Moon — you will not see anything useful in a washed-out sky for the next few minutes.
Your phone is the other light source to tame. Turn the brightness down as far as it will go, switch on a red or night filter if your phone has one, and keep the screen angled away from you. The Moon itself is bright enough to observe comfortably in late twilight, which is a trick worth remembering: start before the sky is fully dark and the glare is much easier on the eyes.
- Give yourself fifteen minutes outside before judging the view — your eyes relax and your patience improves.
- Keep both eyes open at the eyepiece if you can; it reduces eyestrain.
- Look slightly off to the side of a faint feature and it often appears more clearly. Astronomers call it averted vision.
- Do not breathe on the eyepiece or the objective lens, and do not polish optics with your sleeve.
Dress for the Cold You Did Not Forecast
Standing still is the thing that gets you. A clear night radiates heat away from the ground fast, and even a mild evening turns chilly once you have been motionless for forty minutes. Dress in layers you can shed, and treat your extremities as the priority: warm socks, boots with some insulation, a hat, and gloves thin enough to work a focus knob. A thin pair under a heavier pair works better than one thick glove you keep taking off.
Bring something to sit on, even a folded mat or a camping chair. Bring a flask of something hot. Skip alcohol — it makes you feel warmer while your body is actually losing heat faster, which is the opposite of helpful on a cold night. If you wear glasses, keep a microfiber cloth in a pocket; dew and breath fog are constant companions.
Charts and a Notebook
A star chart is the wrong tool for the Moon. You want a lunar map with named features, printed and ideally laminated so dew does not destroy it. A single page showing the major maria, the big ray craters, and the main mountain ranges is plenty for a first session. Hold it so that its orientation matches what you see in the eyepiece — many maps are printed with south up, and binoculars flip nothing, so check before you spend ten minutes hunting for a crater that is upside down on paper.
Keep a notebook and a pencil nearby. Write the date, the time, the phase, and one or two lines about what you saw. This sounds like homework and is not: a month later you will want to know whether that crater near the terminator was Plato or something else entirely, and memory will not help. Sketching rough shapes with a pencil also teaches you to see, which is most of the skill involved in lunar observing.
Easy Lunar Targets for the First Hour
Work through these roughly in order. If the Moon is a crescent, start at the terminator and follow it; if it is nearer first quarter, the same features will be lit differently and easier to see.
- Mare Crisium. A distinct dark oval near the eastern edge, separated from the other maria. It is one of the first features to catch the sunlight and easy to identify in binoculars.
- Mare Tranquillitatis. The broad dark plain where Apollo 11 landed. You will not see the hardware, but you can see the plain, and that is enough.
- Tycho and its rays. A bright crater in the southern highlands with streaks radiating across the surface. The rays look best near full Moon; the crater itself shows terraced walls around first quarter.
- Copernicus. Big, bright, and obviously complex, with a cluster of peaks at its centre. It becomes striking a day or two after first quarter.
- Clavius. A huge walled plain in the far south, with a chain of smaller craters inside its floor. Best seen as the terminator approaches it.
- Earthshine. On a thin crescent, the unlit part of the Moon glows faintly, sunlight reflected from Earth. It is subtle, and one of the loveliest things in the sky.
Print This, Pack It, Go Outside
Copy the list below onto a card, keep it with your gear, and tick things off before you leave the house.
- Binoculars, lens caps, and a tripod adapter if you have one
- Telescope with a low-power eyepiece fitted, cooled outside in advance
- Red headlamp, spare batteries, phone brightness turned down
- Printed lunar map and a notebook with a pencil
- Thermal layer, hat, gloves, warm socks, boots
- Chair or mat, hot drink, microfiber cloth
- Target list for the night, chosen to match the phase
Then go out, find the terminator, and start at the top of the list. If only two targets happen and your hands get cold, that still counts as a good first session — the Moon will be back next month with the shadows reversed, and you will already know where to look.
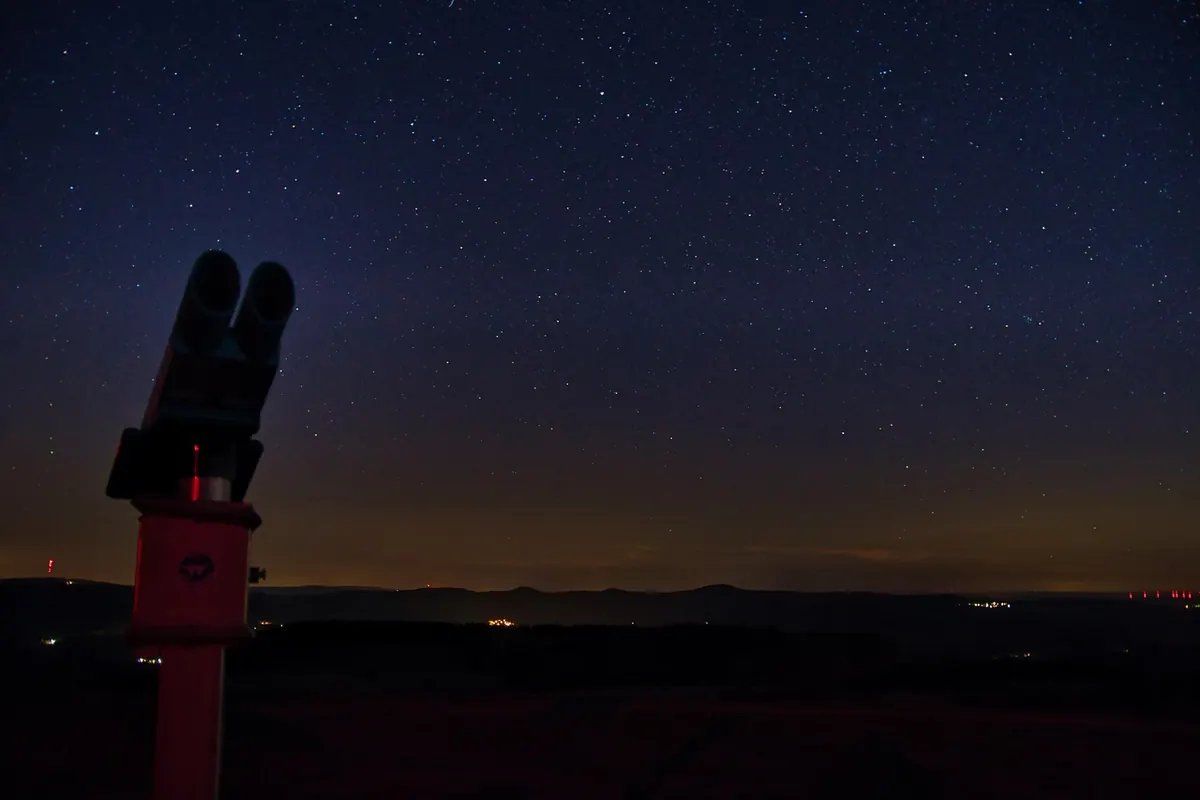
Photo: TobiasRehbein / Pixabay