A lunar eclipse rewards the unprepared more than almost any other event in the sky. You can walk outside with nothing at all and still see the whole thing. But it rewards the prepared much more, and the difference is rarely equipment. It is knowing when to look, where the Moon will be, and what you are actually watching as the shadow crawls across the lunar surface.
This checklist is built for a night you only get a few times a year, and sometimes only a few times a decade from a given location. Read it once in daylight, then again about an hour before first contact.
Know the Timeline Before You Go Outside
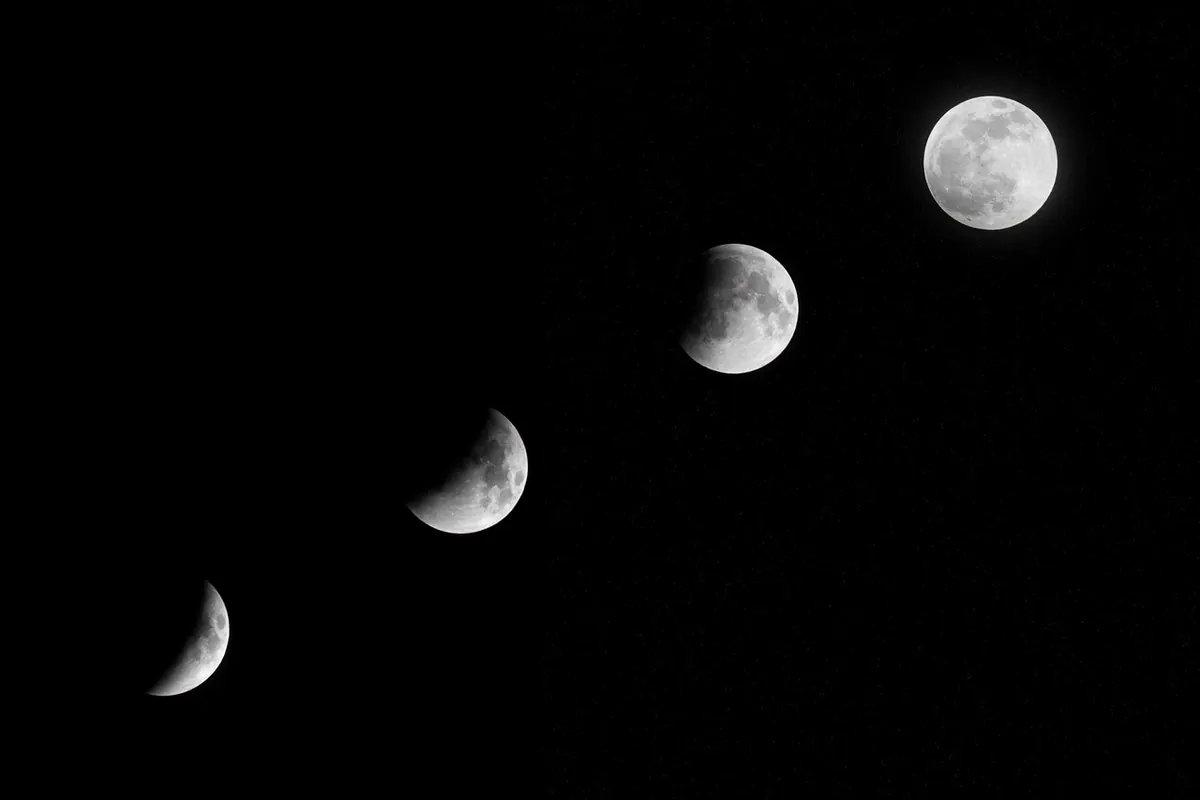
Every lunar eclipse is described by a small set of contact times, and they are worth writing down on paper rather than trusting to memory. The shadow has two parts: the pale outer penumbra, where the Sun is only partly blocked from the Moon's point of view, and the dark inner umbra, where the Sun is fully hidden. The Moon crosses both, and the crossings get their own labels.
- P1 — first penumbral contact. The Moon touches the outer shadow. Almost nothing visible yet.
- U1 — first umbral contact. A dark bite appears on one limb. This is when the show starts.
- U2 — totality begins. The Moon is fully inside the umbra.
- Greatest eclipse — the Moon is deepest in the shadow. Usually the darkest and reddest moment.
- U3 — totality ends. The first direct sunlight returns to a lunar crater rim.
- U4 — last umbral contact. The Moon leaves the dark shadow entirely.
- P4 — last penumbral contact. The eclipse is over.
Published times are usually in UTC, so convert once, carefully, for your time zone and any daylight-saving shift. Then work backwards: you want to be set up and sitting down at least twenty minutes before U1, not fumbling for a tripod in the dark while the first bite is already visible.
Check the Moon's altitude as well. A low Moon is still worth watching, sometimes more so, but it can set before the eclipse finishes. If the Moon rises or sets during totality, pick a viewing spot with a clean horizon in that direction. Totality itself can last anywhere from a few minutes to well over an hour and a half, depending on how centrally the Moon passes through the shadow.
Equipment: Less Than You Think, More Than You Need
The single most useful item is a chair that lets you lean back. A lunar eclipse is a slow event, and neck strain ends more observing sessions than clouds do. Beyond that, the kit is modest.
- Binoculars. 7x50 or 10x50 models are ideal. They turn the Moon from a disc into a landscape and make the umbra's curved edge easy to follow.
- A small telescope, if you own one. Keep the magnification low. You want the whole Moon in the field, not a crater filling the eyepiece.
- Warm layers. One more than you think you need. Clear nights cool fast, and you will be standing still for hours.
- A red torch. Enough light to read a notebook without wrecking your dark adaptation.
- Notebook and pencil. Pencils work in the cold; pens often do not.
- A flask and something to eat. Totality is not the time to discover you are hungry.
If you plan to photograph the eclipse, decide now whether you are photographing or watching. Trying to do both usually means doing neither well. A simple wide shot of the red Moon over a familiar skyline will often please you more than a shaky telephoto frame.
Safety: The One Rule That Matters
Lunar eclipses are completely safe to look at directly. No filter, no projection, no special glasses. The Moon is simply reflecting sunlight that has passed through Earth's atmosphere, and during an eclipse it is dimmer than at any other full Moon, not brighter. There is no reason to look away, and no risk in binoculars or a telescope.
This is the opposite of the rule for solar eclipses, and the two get confused every year. If someone near you reaches for eclipse glasses, they are thinking of the Sun.
The real risks are ordinary ones. Cold, dark, uneven ground, and the drive home when you are tired at two in the morning. Bring a light for the walk back, watch for tripod legs, and if you are drowsy, sit in the car for ten minutes before starting the engine.
What Happens at Each Stage
Penumbral entry
For a long stretch after P1, the Moon looks entirely normal. The penumbra dims the surface so gradually that the eye barely registers it, and the shading becomes obvious only when the Moon is deep into that outer shadow. Do not assume something has gone wrong. Use this time to check focus, pour something hot, and let your eyes adapt.
The partial phase
At U1 a small dark notch appears on the Moon's eastern or western limb, depending on the geometry. Watch that notch for a minute through binoculars. Its edge is a curve, and that curve is the outline of the Earth's globe projected across a quarter of a million miles. As the umbra advances, the shadowed portion looks less black than you might expect, often a deep brown or dull copper, because some sunlight is refracting through our atmosphere and still reaching the lunar surface.
Totality
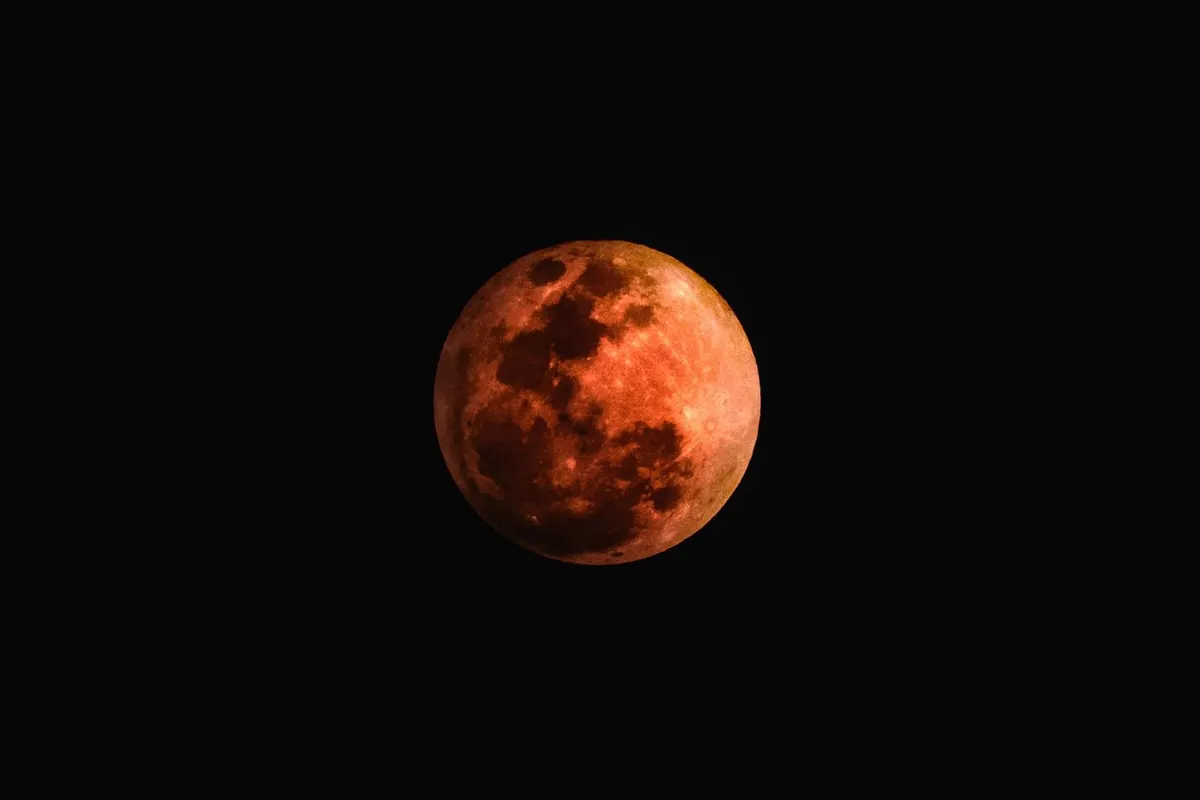
The last direct sunlight disappears at U2, usually as a bright, ragged edge over lunar highlands. What remains can range from a vivid copper orange to a nearly invisible charcoal grey, depending on how much dust and cloud sits in Earth's atmosphere at the time. Binoculars help here: lunar maria show as darker patches within the red, and crater rims catch the light in subtle ways. Look up from the Moon for a moment. The sky around it will have darkened enough that more stars are visible than before.
The exit
U3 arrives faster than most people expect. A single bright point appears on the limb, then spreads within seconds as sunlight returns to a crater rim. The exit often looks brighter than the entry, partly because your eyes have adapted to the dark. Keep watching until U4. The last of the umbra sliding off the Moon is quiet, but it is the honest end of the event.
Recording What You See
You do not need to be a scientist to keep a useful record. Note the time, the sky conditions, and a rough description of the colour at mid-totality. Experienced observers use the Danjon scale, a five-point brightness estimate running from L0, an almost invisible Moon, through L2, a deep red or rust colour with a bright rim, up to L4, a bright copper-orange Moon with a bluish-white edge. Estimates are subjective, so record your own impression rather than trying to match someone else's.
Keep it short. Two lines written at greatest eclipse are worth more later than a page reconstructed from memory in the morning.
Field Notes That Save the Night
Set the telescope out early so it can cool to the ambient temperature; otherwise the image will shimmer for the first half hour. Check the dew forecast if you live somewhere humid, and keep a lens cloth handy. Remember that this is a full Moon, so it rises around sunset and stays up all night, which means the eclipse could happen at any hour. Set two alarms, one an hour before U1 and one fifteen minutes before.
Finally, resist the urge to check your phone between phases. Bright screens cost you twenty minutes of dark adaptation each time, and the whole point of the night is to see the Moon go dim.
The Last Ten Minutes Before First Contact
Find the Moon while it is still bright and easy to locate. Confirm your chair angle, set out binoculars within reach, and test your red torch. Note the time of U1 and the time of totality on a single sheet of paper. Then put everything down and look up. The first dark bite appears without ceremony, on schedule, and the rest of the night unfolds from there.
Photo: ktphotography / Pixabay