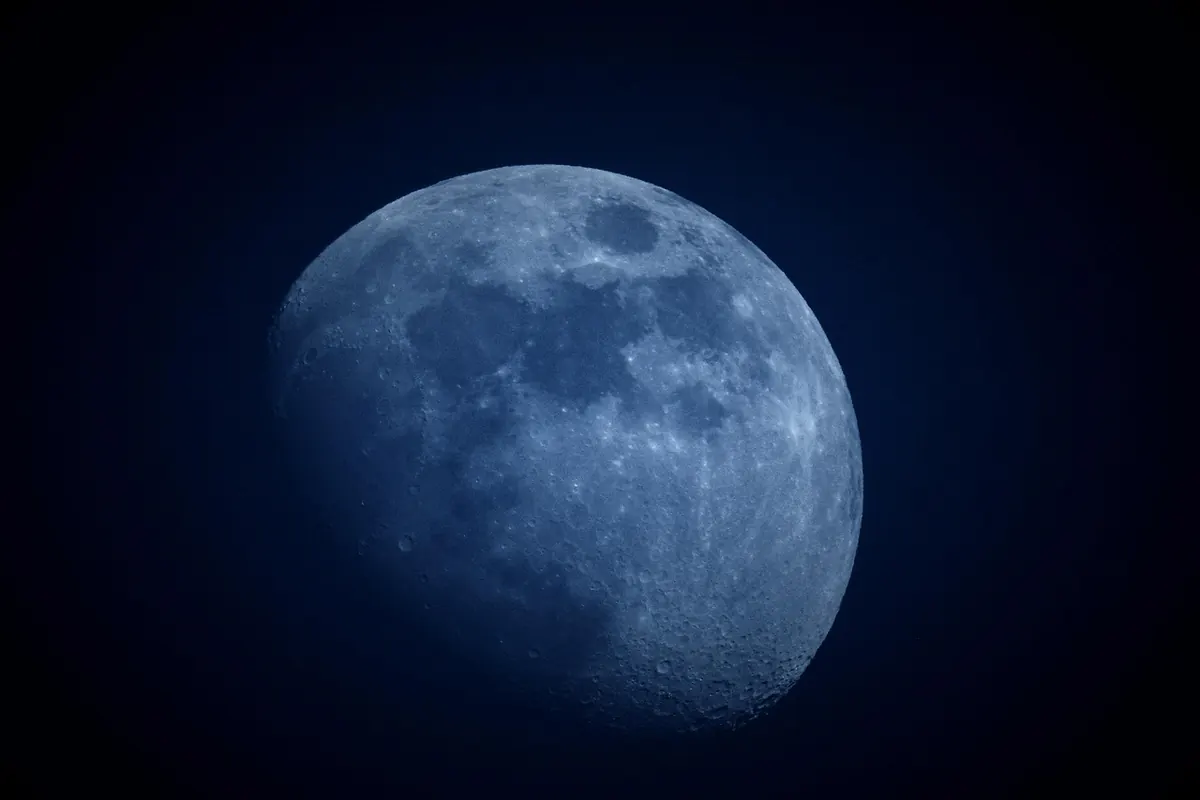
The first time a small telescope is aimed at the Moon, the view can be almost too much: a bright, cratered surface with no obvious labels. Yet the Moon rewards a slow, map-led approach. The dark patches you can see from a city street are the same maria you will meet at the eyepiece, and the brighter craters become landmarks once you know their shapes. This guide takes you from that naked-eye view to a confident tour of named features with a backyard telescope.
Begin with the Dark Patches
Stand outside on a clear evening and look at the Moon without any optical aid. The grey shapes are not seas, despite the name. They are broad plains of ancient basaltic lava, smoother and darker than the brighter highlands around them. A single one is a mare; several are maria. Learning three or four of these shapes by eye makes the telescope view far less confusing later.
Mare Crisium is a good first target: a small, distinct oval near the Moon’s edge, often looking slightly detached from the larger dark patches. Mare Tranquillitatis is a wide, dusky plain in the central-eastern region, while Mare Serenitatis is the rounder patch nearby. Mare Imbrium is the large, roughly circular plain in the northwest, and Oceanus Procellarum is the enormous western expanse that wraps around it. Do not worry about exact compass directions yet. Learn the shapes as you would learn the outline of a coastline.
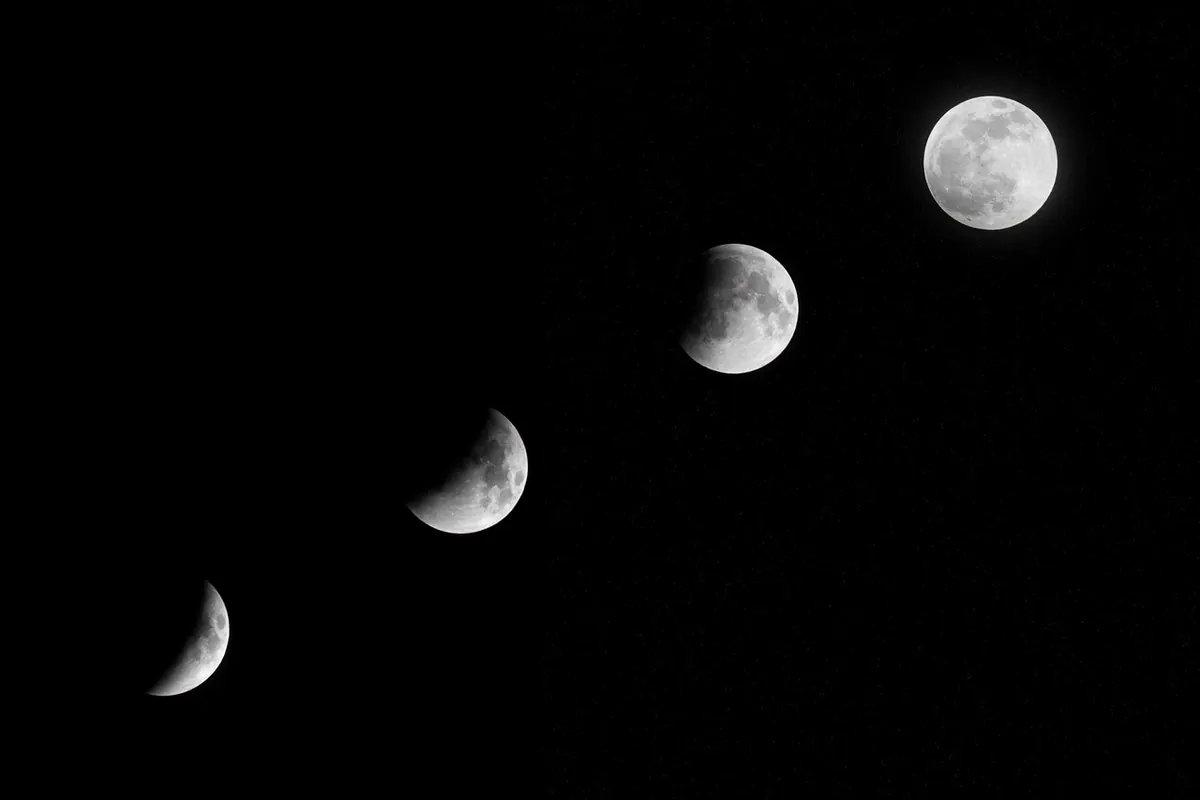
A Moon a few days past first quarter, or a few days before last quarter, is often the most satisfying. The terminator—the line between lunar day and night—throws long shadows across craters and mountains, while the maria remain easy to pick out. A full Moon is bright and dramatic, but it flattens much of the relief that helps a beginner identify craters.
Match the Map to the Eyepiece
A simple printed moon map is enough. So is a basic lunar atlas or a phone app used at the telescope, provided you keep the screen dim. The difficulty is not finding a map; it is matching the map to what you actually see. A star diagonal can mirror the view, a reflector can rotate it, and the Moon’s orientation changes through the night and through the month. Do not begin by memorising north and south. Begin by matching shapes.
Start with your lowest-power eyepiece—often a 25 mm or similar—and centre the Moon. Focus carefully, then hold the map at arm’s length and rotate it until the large dark patches line up with the view. If the map shows Mare Crisium on one side and your eyepiece shows it on the other, turn the map around rather than forcing the telescope to agree. Once the big shapes match, the smaller labels become usable.
Tip: identify a feature at low power first, then increase magnification. High power on an unidentified bright patch is simply a larger unidentified bright patch.
A Route Through the Major Maria
Treat the maria as a chain of landmarks rather than a list to memorise. With the Moon in a favourable phase, work through this sequence at low power:
- Mare Crisium: find the small oval near the edge and note its isolated shape.
- Mare Fecunditatis: move to the larger dark plain beside Crisium; it is broader and less sharply outlined.
- Mare Tranquillitatis: continue into the wide central plain, the one with a slightly uneven, dusky tone.
- Mare Serenitatis: look for the rounder dark basin adjoining Tranquillitatis, bordered by brighter highland arcs.
- Mare Imbrium: find the large circular plain in the northwest, ringed in places by mountain ridges.
- Oceanus Procellarum: trace the huge western expanse that surrounds Imbrium and stretches toward the limb.
- Mare Nubium and Mare Humorum: in the south, pick out the smaller dark patches that sit among heavily cratered terrain.
Mare Frigoris is worth adding as a thin arc in the north, but leave it until the main route feels familiar. The aim is not to name everything on the first night. It is to build a mental map that lets you return to the same place next month.
Craters: Read the Shadows
Craters are easier to identify when you stop looking for bright dots and start looking for structure. A young, well-preserved crater often has a sharp rim, a bowl-shaped floor, and sometimes a central peak. Older craters are softer, shallower, and may be filled or overlapped by later impacts. Near the terminator, a crater can appear half-lit, with its rim casting a black shadow into the floor and the opposite wall catching sunlight. That contrast is your best friend.
Crater clues to use at the eyepiece
- Tycho: a prominent southern crater with a bright ray system that is most obvious around full Moon.
- Copernicus: a large, complex crater with a central peak and terraced walls, excellent near the terminator.
- Kepler: a smaller bright crater west of Copernicus, often easier to spot by its brightness than by its size.
- Aristarchus: one of the brightest features on the Moon, set in the dark plain of Oceanus Procellarum.
- Plato: a dark-floored crater in the north, shaped like a smooth oval rather than a bright pit.
- Clavius: a large southern crater containing smaller craters on its floor, best seen when the seeing is steady.
Do not rush to high magnification. A steady low-power view with a well-matched map will teach you more than a wobbling high-power image. If the Moon looks like it is boiling, the atmosphere is unsteady; wait a few minutes or drop to a lower power and enjoy the broader shapes.
A Short Beginner’s Tour
Use this as a first proper session once you can recognise two or three maria. Keep the telescope pointed away from the Sun, and give the instrument a little time to settle after you move it.
- Centre Tycho in the south and trace its rays outward. At full Moon, the rays are the main attraction; near the terminator, the crater rim is sharper.
- Move north to Copernicus and look for its central peak and the bright ejecta around the rim.
- Find Plato as a dark oval in the north. Its floor is usually smooth and dark, a contrast to the bright highlands nearby.
- Locate Aristarchus in Oceanus Procellarum. Its brightness can almost look artificial against the dark basalt.
- Finish at Clavius in the south, then switch to a medium-power eyepiece if the atmosphere allows. Count the small craters you can see inside its floor without trying to identify every one.
Write down what you saw: the date, the Moon’s phase, the eyepiece used, and a rough sketch. A sketch does not need to be artistic. A circle for the Moon, a few dark patches, and three labelled craters will do. Next time, the same features will be easier to find because your hand has already drawn them.
Keep the First Night Short
A good first lunar session can last twenty minutes. Pick three features, find them at low power, and stop before the cold or the brightness wears you down. Use a moon filter if the view feels uncomfortably bright, especially near full Moon, and keep a red light handy for your map and notes. Avoid touching the eyepiece while observing; let the image settle. Most of all, return within a few nights. The terminator moves, shadows change, and the same crater you found last week will look different enough to teach you something new.
Photo: 5892437 / Pixabay