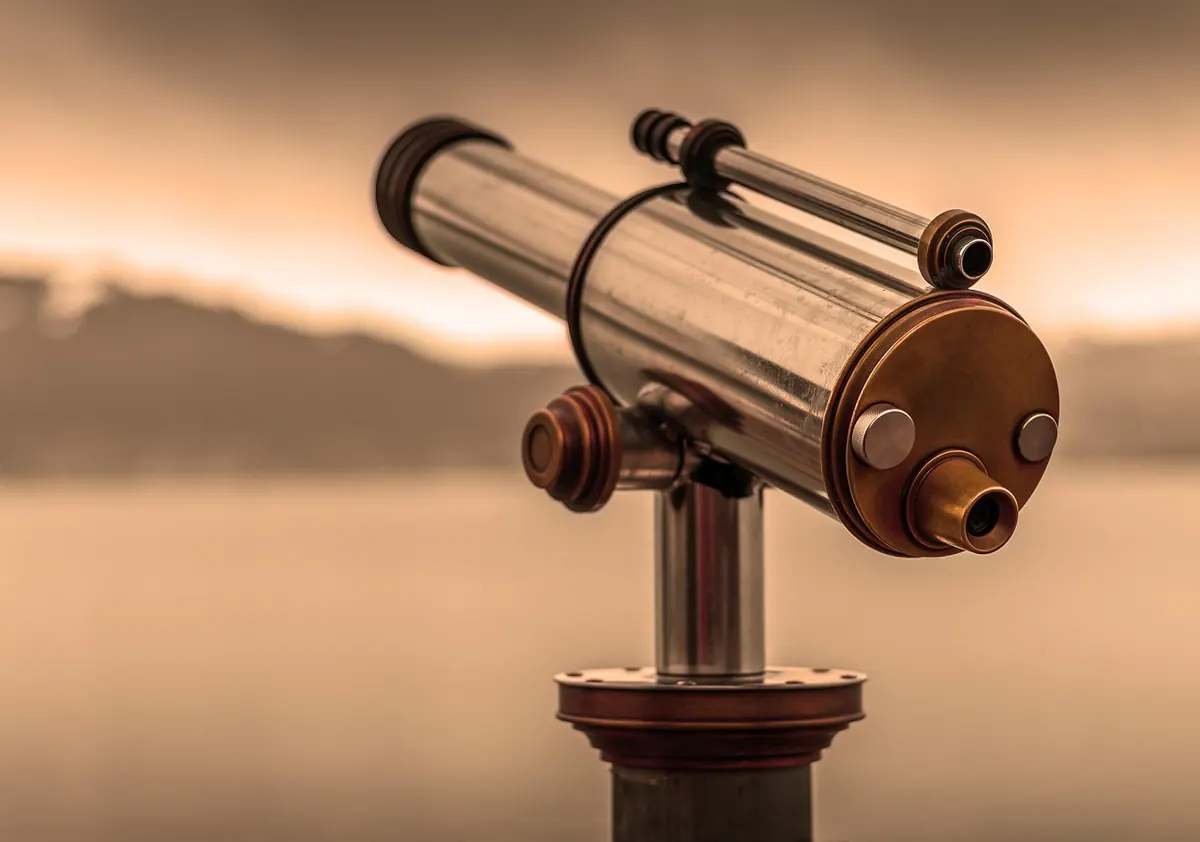
The Moon is the most forgiving target in the sky. It is bright enough to cut through city light, big enough to find without a finder scope, and different every clear night. Plenty of people buy their first optical instrument because of it — and plenty of those instruments end up in a cupboard by March. The choice between binoculars and a small telescope is not really about which one is better. It is about which one you will actually carry outside, and what you want to see when you get there.
Magnification, Translated Into Something Useful
The Moon spans about half a degree of sky. At 10x it appears ten times larger, roughly five degrees across — a few finger-widths at arm's length — and that is already enough to turn a bright disc into a place with geography.
But magnification alone tells you very little. What matters is aperture: the size of the front lens or mirror. Aperture sets the smallest detail an instrument can resolve and how much magnification it can carry before the image goes soft. A practical rule of thumb is that a well-made instrument stays sharp up to roughly twice its aperture in millimetres, or about 50x per inch, and only when the air is steady.
That is where the two options part company. A 50mm binocular is fixed at 7x or 10x. A 90mm telescope can be pushed to 150x on a good night. Low power shows you the whole Moon at once, with its dark maria, bright ray systems and the soft glow of earthshine on the unlit limb. High power shows you the inside of a crater wall, with a shadow lying across its floor.
What You Actually See: A Side-by-Side
Through 7x50 or 10x50 binoculars
- The entire disc, framed against black sky, with Tycho's rays streaking across the southern highlands
- Copernicus and Kepler as bright rings that flare into spidery lines near full moon
- Aristarchus, the brightest patch on the Moon, and the dark oval of Mare Crisium
- Craters along the terminator with their floors half in shadow and their rims catching first light
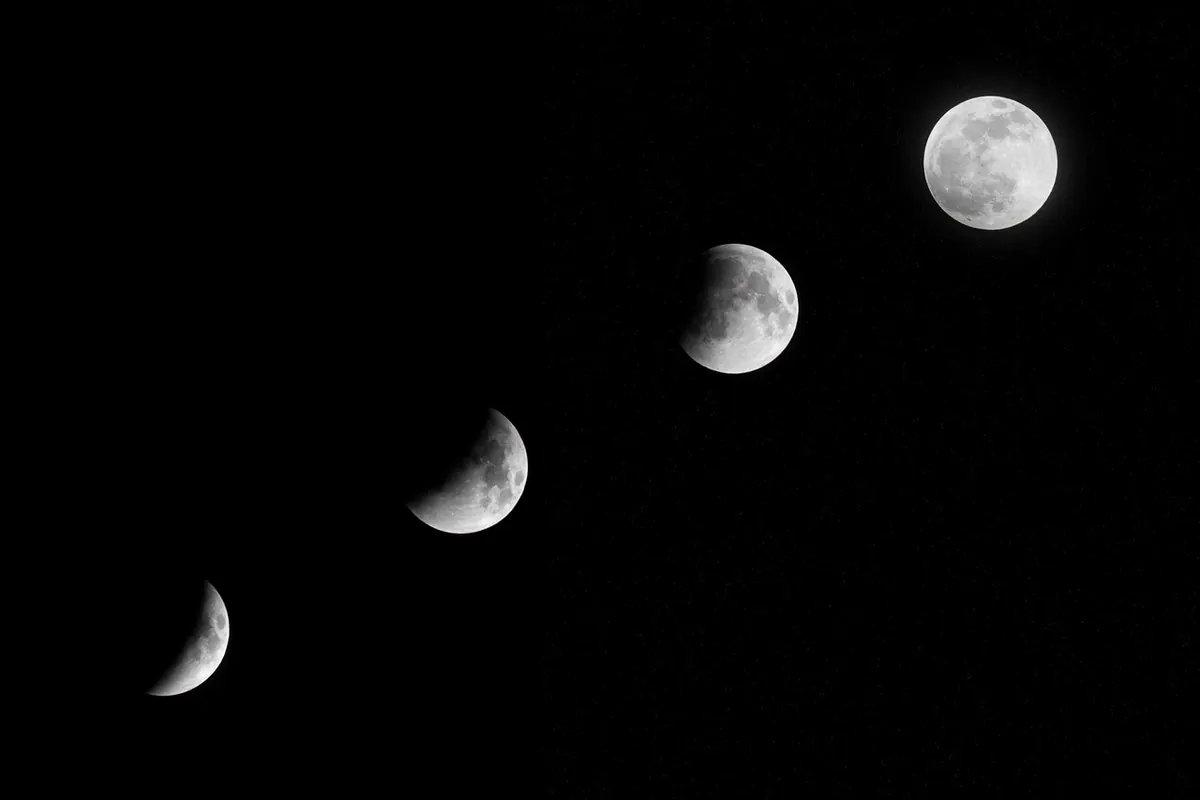
- Earthshine on a crescent, and the whole cycle of phases in a way a narrow field of view never shows
Through a 70mm to 130mm telescope
- Individual craterlets on Plato's dark floor, given steady air and enough aperture
- Terraced inner walls in Copernicus, and central peaks throwing long shadows
- The Straight Wall, the Alpine Valley, and the Hadley Rille area where Apollo 15 landed
- Detail that changes hour by hour as the terminator sweeps westward
The honest caveat: high power is only as good as the air above you. On a night of poor seeing, a 130mm scope at 200x will look mushier than the same scope at 90x. Binoculars never have that problem. They are always at their limit, which is one reason they are so dependable.
Observe the terminator, not the full moon. Every crater you have ever read about looks its best when the sunrise line is crossing it.
Portability and the Friction Test
Ask yourself how much effort stands between you and the eyepiece. That number decides how often you observe.
Binoculars hang by the door. They have no cool-down, no collimation and no alignment, and they earn their keep in daylight as well — birds, ships, distant hills, the neighbour's cat. A pair of 10x50s fits in a rucksack and survives a car journey without a padded case the size of a suitcase.
A telescope asks more. A reflector or Maksutov needs fifteen to thirty minutes to settle to the outdoor temperature. A Newtonian needs the occasional collimation check. A refractor's objective will fog over with dew on a long night. In exchange, you can sit down, swap a low-power eyepiece for a high-power one, and hold a single feature in view while you sketch it.
If you have a balcony, a flight of stairs, or a short attention span at the end of a working day, binoculars will get used. That matters far more than specifications.
Cost, and Where the Money Actually Goes
Binoculars deliver a lot of optical quality for the money because you are not paying for a mount. A telescope budget is split down the middle: roughly half goes to the optics, half to the tripod and mount. Skimp on the mount and you get an instrument that shakes every time you breathe.
This is also why the cheapest telescopes on the market are a false economy. A small refractor on a flimsy tripod, advertised with a magnification figure it can never deliver, will disappoint a beginner faster than anything else in amateur astronomy.
Whatever you buy, budget for the accessories that make it work:
- A tripod adapter for binoculars — a tiny, inexpensive L-bracket that transforms the view
- A steady tripod or monopod, tall enough to use while standing or, better, while sitting
- A second eyepiece in the 8–12mm range for lunar work
- A neutral density or variable polarising filter, because the full moon is genuinely dazzling through optics
- A red torch and a simple chart or app so you can identify what you just found
- A reclining chair or observing stool, which is not a luxury if you plan to look up for an hour
Which Should You Buy First?
Start with binoculars if: your budget is tight, you observe from a balcony or a bright street, you want one instrument that travels and does daytime duty, you are not yet sure how often you will go out, or you want to learn the Moon's features and phases as a whole before studying fragments.
Start with a small telescope if: you already know you will go outside regularly, you have a garden or window with a clear southern view, and you specifically want to chase rilles, craterlets and terraced walls at 100x and beyond. Be ready to learn collimation, cool-down and dew control — none of it is hard, but it is part of the hobby.
If you are somewhere in between, a 10x50 binocular plus a solid tripod costs less than most telescopes and will keep you busy for a year. Many observers keep a pair long after they buy their first serious scope, and use them on every session as a wide-field finder.
Technique Beats Equipment
- Go out two or three nights in a row. The same crater looks flat at full moon and dramatic three days later.
- Mount the binoculars. Hand-held 10x is fine for a glance; a tripod makes the difference between seeing and guessing.
- Sit down and lean back. A reclining garden chair will improve your views more than a better eyepiece will.
- Let your eyes settle. Step away from the eyepiece for twenty seconds, then look again — detail appears in the second look.
- Sketch what you see. Even a rough circle with a few dark smudges trains your eye faster than any book.
A Practical Way to Decide
If you want one instrument that you will use on impulse, buy a pair of 10x50 binoculars, a tripod adapter and a decent tripod. Total outlay stays modest, and you can be observing within a minute of stepping outside.
If you know you want to look inside craters rather than at them, buy a small telescope with a mount you can carry in one trip — a 70–90mm refractor on a simple alt-azimuth mount, or a small tabletop Dobsonian. Skip anything with a shaky tripod, whatever the box promises.
And if you can manage both over time, do it in that order. Binoculars teach you the Moon; a telescope lets you interrogate it.
Photo: 2780243 / Pixabay