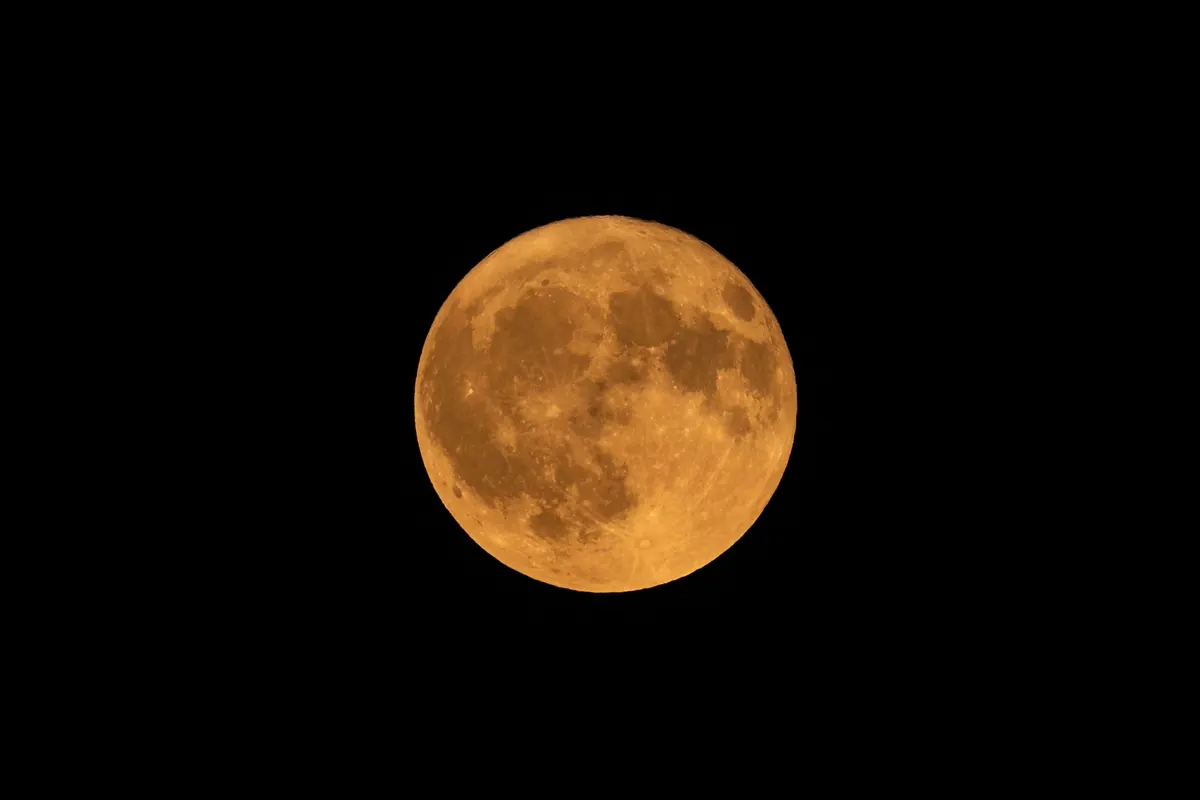
The Harvest Moon collects more photographs than any other full moon, and most of them are forgettable. Not because the Moon misbehaves — it is, after all, remarkably punctual — but because nobody planned the picture. A bright disc in an empty purple sky is a snapshot. The same disc sliding up behind a windbreak of poplars, or clearing the ridge above a barn roof, is a photograph.
The distance between those two outcomes is a couple of evenings of homework: a moonrise table, a compass bearing, a walk to the right field, and a decision about focal length made before you leave the house. The good news is that the Harvest Moon is unusually forgiving. It gives you several nights of near-full moonlight in a lit sky, which means you get more than one attempt.
Why the Harvest Moon Behaves Differently
The Harvest Moon is the full moon closest to the September equinox, which places it in September most years and in early October in others. What makes it worth planning around is the shrinking gap between successive moonrises. Normally the Moon rises about 50 minutes later each night, because it travels roughly 13 degrees eastward along its orbit every day. Around the autumn equinox at mid-northern latitudes, that delay drops to something nearer 20 or 30 minutes, and at high northern latitudes it can be shorter still.
The cause is the shallow angle the evening ecliptic makes with the horizon. The Moon's eastward drift is mostly sideways rather than downward, so it hangs near the horizon and the twilight lingers with it. For a photographer this is a gift: a run of consecutive evenings when the Moon is full or nearly full and rising while there is still light in the sky. In the Southern Hemisphere the same geometry arrives near the March equinox, so the advice below applies there in autumn rather than spring.
Read the Numbers Before You Choose a Spot
Every moonrise plan begins with two figures: azimuth, the compass bearing where the Moon breaks the horizon, and altitude, how high it sits. For the Harvest Moon at mid-northern latitudes, expect a rise point somewhere between east and east-northeast, and expect that bearing to shift noticeably from night to night — often by several degrees. That drift is your compositional lever. Choose a foreground with some width and you can pick which evening puts the Moon where you want it.
Where to get the data
Timeanddate.com and the US Naval Observatory's data services publish moonrise tables free of charge; planning apps such as PhotoPills, The Photographer's Ephemeris, Planit Pro and Stellarium add sightlines, augmented-reality overlays and terrain profiles. Any of them will do. What matters is that you read the numbers for your exact position, not for the nearest city.
The compass reality check
Predicted moonrise assumes a flat, sea-level horizon. Hills, tree lines and rooftops delay the visible rise, sometimes by ten or fifteen minutes, and they change the apparent bearing too. Phone compasses drift; recalibrate with a figure-eight motion, and if you are using a magnetic compass rather than an app's true-north bearing, account for declination. Completely bald skies make this easy. Hazy ones do not.
Match the Moon to a Foreground
The Moon is about half a degree across. That single fact governs every composition decision. The eye sees a vast, atmospheric disc; the camera sees a small bright dot unless the lens is long or the subject is far away. Two levers fix this.
- Distance. A subject one kilometre away subtends the same angle as the Moon when it is roughly nine metres tall. Halve the distance and it needs to be about four and a half metres. A church tower at 800 metres will dwarf the Moon; the same tower at 200 metres will swallow it.
- Focal length. On a full-frame body, 300mm renders the Moon at about a ninth of the frame height, and 600mm at about a fifth. Wider lenses turn it into a bright pinprick, which is fine if the landscape is the subject and the Moon is a punctuation mark.
Leave a gap. A Moon touching the rim of a tower looks like a lollipop; a Moon floating just above it looks deliberate. Shoot a little wider than you need and crop later, and use your app's sightline or AR view from the exact spot you intend to stand — three metres to the left can matter when the foreground is close.
Work the Twilight Window
The night before the full Moon, it rises well before sunset, so it appears against a fully lit landscape. On the night itself it rises within minutes of sunset, sometimes just before and sometimes just after. The following evening it climbs into deepening blue. These are three different photographs, and knowing which one you want determines which night you drive out.
Civil twilight — the 20 to 30 minutes after sunset — is the sweet spot for a single, balanced frame. There is enough light to hold detail in the foreground and not so much that the Moon washes out. Arrive 45 to 60 minutes before the predicted rise. Set up, focus, compose, and then wait with the camera ready. The Moon clears a distant hill faster than people expect.
Settings and Field Technique
For a full Moon high in a dark sky, the old Looney 11 rule still works: aperture at f/11, ISO 100, shutter at roughly 1/ISO — so about 1/100 second. Near the horizon the atmosphere dims and reddens the Moon, and you may need a stop or two more. But be careful: exposing purely for the Moon will turn the landscape to black. Either shoot during bright twilight, when one frame can hold both, or take two exposures and blend them later.
Focus manually, magnified in live view on the Moon's limb, or lock focus on a distant light and tape the ring. Switch off stabilisation on the tripod, use a remote release or the two-second timer, and shoot RAW so you can rescue the highlight. Bracket a couple of stops either side on the first few frames until you trust the exposure.
Weather, Horizon and Access
What ruins most attempts is not cloud overhead but cloud on the eastern horizon. A clear zenith means very little if a marine layer or a band of stratocumulus sits where the Moon is due to appear. Check satellite loops rather than a single sky icon, and favour a vantage point with an open eastern view and a little elevation.
Thin haze is your friend. It tames the Moon's brightness and warms its colour; crystalline clarity can leave you with a blown white coin against black. Scout in daylight, confirm access and permissions if the field is private, check tide tables on the coast, and carry a red headlamp for the walk back — the Moon will light your way, but the ground under your feet will not.
Composition details worth noting in daylight
Look for a foreground with a clean silhouette edge: a roofline, a single tree, a line of fence posts, a hill saddle. Busy skylines compete with the Moon; simple shapes frame it. Note where streetlights or wires cross the sightline, and check whether a car park or footpath will put strangers in your frame at the critical moment.
A Harvest Moon Countdown
- Two weeks out: pick three candidate foregrounds on a map, all with a clear eastern horizon, and note the moonrise azimuth for each evening you could shoot.
- One week out: scout at golden hour, confirm the sightline and access, and measure rough distances to your subject with a mapping tool so you know what focal length you need.
- Day before: check the horizon forecast, choose your night, charge batteries, format cards, pack the tripod and a longer lens than you think you need.
- 90 minutes before: arrive, set up, focus at infinity, compose with the AR view, and take a test frame of the twilight landscape.
- 20 minutes before: start shooting every 30 seconds or so. The visible rise may come later than predicted, and the first two minutes of colour are usually the best.
- After the rise: keep going until the sky goes properly dark, then take one blended frame for the foreground.
If the first evening disappoints — and it often does — you have two more. The best Harvest Moon photograph is rarely the one taken on the night of the full Moon. It is the one taken two evenings later, when you already know exactly where the Moon will appear and what the foreground needs.
Photo: Mian Rizwan / Pexels